參考網址 http://www.rmprepusb.com/tutorials/serva
Server 建製 -
1. Download free version from Serva officail site. (Pro version need money.)
x86, x64 version. install it.
下載 Serva tool, 安裝。
2. Create "SERVA_ROOT" folder in C:\.
C 槽下開一資料夾 SERVA_ROOT。
3. To NIC to set TCP/IPv4 to assign IP 192.168.0.1.
網路設成指定 ip,找到 TCP/IPv4 那裡設定

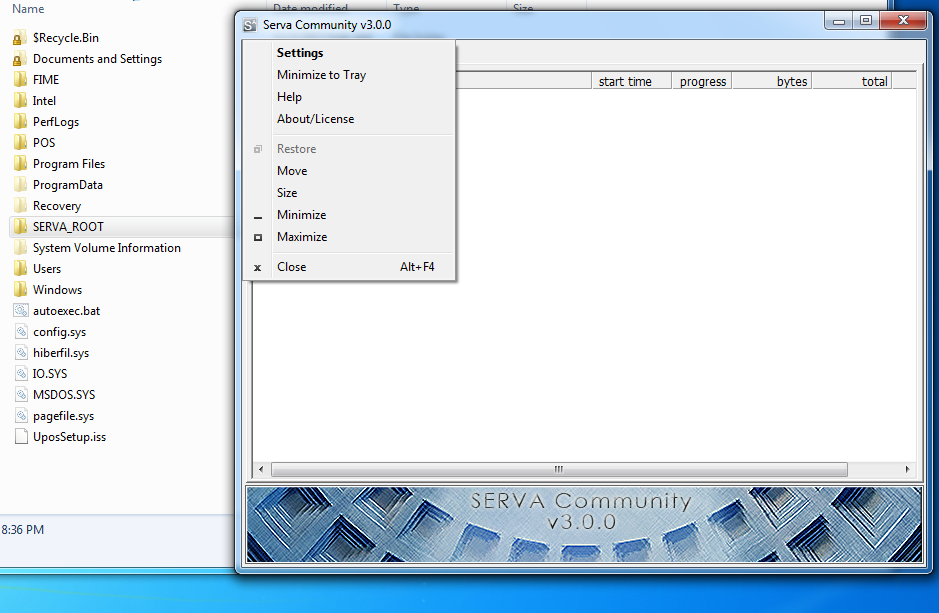
4. Run Serva.exe and click Left Top side icon to select Settings
(if you get a Windows FireWall warning then ALLOW the program access through the firewall)
執行 Serva, 按左上角的 Icon 選擇 Settings. 記得關掉防火牆。
5. Click on the TFTP tab and set the Root directory to C:\SERVA_ROOT and Checked the TFTP Server item.

6. Settings -> DHCP -> Checked DHCP Server, Checked BINL, Input IP Pool 1st addr, Pool size, Subnet Mask.

7. Quit the app and re-run the Serva.exe app again. This is necessary because when Serva re-starts it will generate the PXE download files according to what folders you have created. Serva only does this when it starts. If you make any changes to the folders under C:\SERVA_ROOT then you should always quit and re-run Serva before you try a PXE boot.
8. Check that there are now some folders underneath the C;\SERVA_ROOT folder
9. Set up a Windows share to the C:\SERVA_ROOT\WIA_WDS folder and after that, use the Windows Advanced Properties dialogue (click on the folder and then click Properties - Sharing) to set access for Everyone and set the Share name to WIA_WDS_SHARE.
10. Copy the contents of your Windows 7 (or Win8 or Vista or Server 2K8R2) DVD to a new folder - e.g. copy a Win 7 SP1 32-bit install DVD to C:\SERVA_ROOT\WIA_WDS\Win7_32_SP1
另外把 client 的 NIC Net Interface Card 的 driver copy 到 OEM/Boot/1/WinPEDrivers/NIC 資料夾裡。
網卡 driver,例如 Client 是 Pearl project,從 Pearl LAN driver package 裡取得。

11. If you have more DVDs, just make a new folder for each of them under C:\SERVA_ROOT\WIA_WDS
12. If you have NT OS source files (e.g. 2003, XP or Server2K8 non-R2) then put these under C:\SERVA_ROOT\WIA_RIS and share the C:\SERVA_ROOT folder as WIA_RIS_SHARE (see doc on website). Make sure "Everyone" group has read permission on the just created share. You also need to set a Null Session share on the C:\SERVA_ROOT folder.

13. Quit the Serva app and re-run it
14. Now try to PXE boot your target system
15. For a WDS install (Vista, Win7,Win8, SVR2K8R2), you will be prompted for a username and password - use your host PC computername\username and password - e.g. mynewHP\Administrator myhppwd.
Serva Server USER count 一定要設密碼 (例: PXEServer / pxe )

16. Clinet 和 Serva server 用 LAN Hub 串接。 Serva 程式執行。
17. Clinet 方設定 boot from Network. 輸入 serva server OS 的 user name 與 password (例: PXEServer / pxe )

= BM / PXESERVA / BIOS / pxeserva.cfg / menu.def 的 menu label 可以改裝設 OS 的名稱
= WinPE 怎麼用,尚未研究。
沒有留言:
張貼留言